First off, tin roofs are tough. They’re basically the tank of the roofing world. But even tanks get a little dinged up over time, right?
The leak might come from a tiny screw hole, a rusted seam, or a spot where the metal just got tired. The good news? You don’t need a whole new roof—just a little love and the right tools.
Think of it like fixing a leaky boat. You’re not rebuilding the vessel; you’re just plugging a hole so you can keep sailing.
Step 1: Find the Leak (The Detective Work)
You can’t fix what you can’t see. So, grab a flashlight and head into your attic (or up on a ladder on a dry day).
Look for rust, loose screws, or gaps where the panels overlap. Pro tip: water often runs down the metal before dripping, so the leak might be a foot or two above the actual stain.
It’s a bit like playing hide-and-seek with water. You know it’s there—you just have to be clever enough to find it.
Step 2: Clean the Area (No Mud Pies Allowed)
Once you find the spot, get it clean. Use a stiff brush to remove dirt, rust flakes, or old leaves. You want the metal to be bare and dry.
Think of it like prepping a canvas before painting. If you slap a patch over a dirty surface, it won’t stick. It’ll just flop off like a bad toupee.
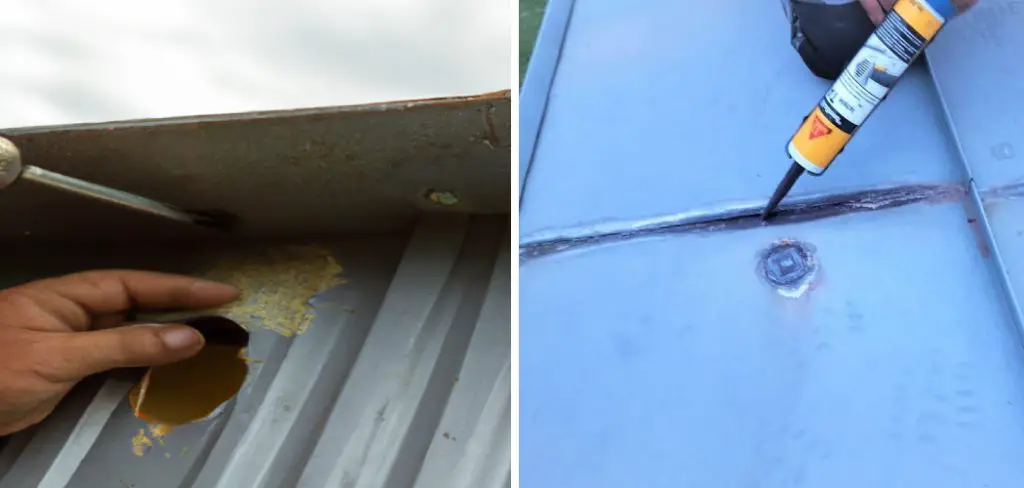 How to Fix a Metal Roof Leak | 10 Easy Methods (2026)
A little wire brush action goes a long way. You’ll feel like a proper metalworker.
Step 3: Choose Your Weapon (The Right Patch)
For small holes or screw leaks, use a roofing sealant or silicone caulk. Squeeze it right into the gap and smooth it out with a putty knife.
For bigger gaps—like a split in the metal or a rusted-out seam—use a metal patch. Cut a piece of galvanized steel or aluminum a few inches bigger than the hole.
Then, slather the patch with roofing cement, press it over the leak, and screw it down. It’s like putting a Band-Aid on a superhero’s suit—functional and cool.