Imagine you’re a freelancer, a small business owner, or just someone with a side hustle. You finish a project, and you have to manually add up hours from sticky notes, texts, and your memory. It’s a recipe for losing money or underpaying yourself.
Using a simple Excel timesheet turns chaos into calm. It’s like having a personal assistant who never forgets what you did at 2 PM on a Thursday.
Your First Step: The Weekly Layout
Open a new Excel sheet. Give yourself seven columns: Date, Task, Start Time, End Time, Break, Total Hours, and Notes. Feel free to rename "Task" to "Client" if that fits your life better.
Now, type the days of the week in the first column. Monday, Tuesday, and so on. This is your anchor. If you work an odd schedule, just list the dates instead—Excel doesn’t judge your unique rhythm.
The Magic Formula for Time
Here’s where the fun begins. In the Total Hours column, you’ll use a simple formula. Click on the first cell under "Total Hours" (let’s say it’s E2). Type: = (C2-B2)-D2. But wait—that’s in Excel-time, which looks like 0.25.
To fix that, highlight that cell, press Ctrl+1 (or Cmd+1 on a Mac), and choose Custom. Type h:mm in the box. Now it reads as "1:30" instead of a decimal. See? You’re a wizard now.
Add a Totals Row (Because You Deserve to Know)
Scroll to the bottom of your column and leave a blank row. Type Total in the column next to it. Then, use the SUM function: =SUM(E2:E8). This adds up all your hours for the week instantly.
I remember using this for the first time to track my dog-walking business. When I saw I had worked 47 hours in a week, I almost fell off my chair. That’s data with feelings.
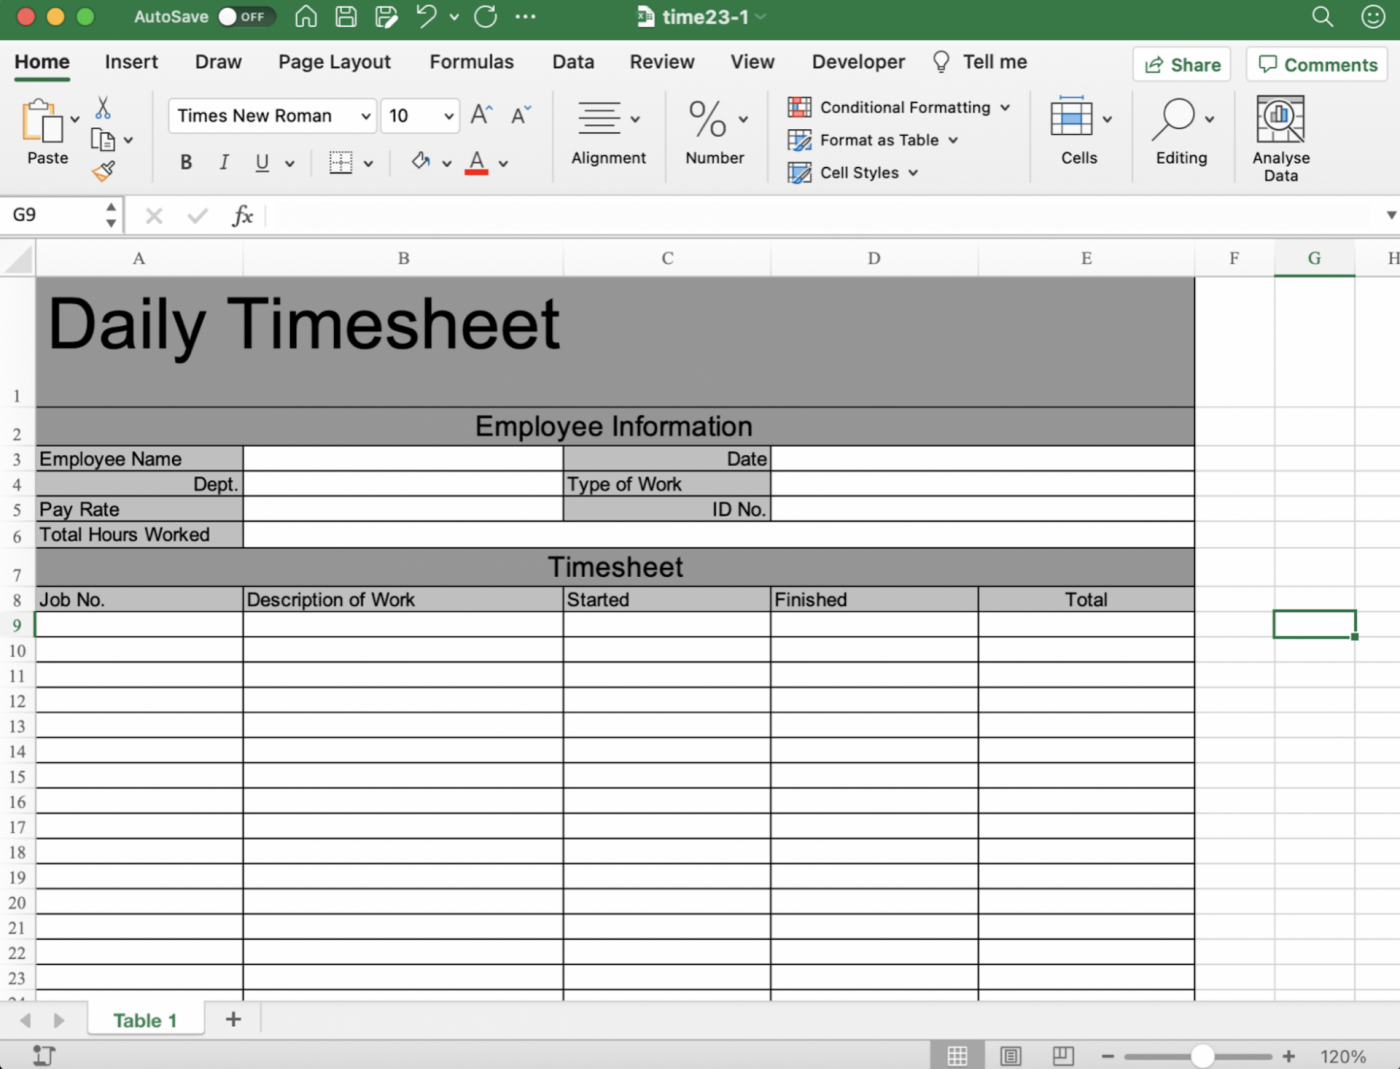 How To Create A Timesheet In Excel