
Think of your pumpkin pie filling as a delicate custard—eggs, cream, and pumpkin puree. When you overcook it, the proteins in the eggs tighten up too much, and they literally squeeze out the liquid. That liquid creates steam, and the steam has no choice but to blast a crack in your pie.
The second culprit is thermal shock. You pull the hot pie out of the oven and set it on a cold counter, a drafty windowsill, or—worst of all—an open window. That sudden drop in temperature makes the custard contract faster than the crust, and pop goes the filling.
Tip #1: Trust the Jiggle, Not the Toothpick
Forget everything your grandmother told you about sticking a knife in the center. That method works for cakes, but for pie, it’s a disaster—you’re just poking a hole for steam to escape and cause cracking. Instead, bake your pie until the edges are set but the center jiggles like Jell-O when you gently shake the pan.
A perfectly baked pie should have a two-inch wobbly center that firms up as it cools. If you wait until the whole thing is solid in the oven, it’s already too late. You’re basically baking custard into rubber.
Tip #2: The Low-and-Slow Temperature Hack
Most recipes tell you to bake at 425°F for fifteen minutes, then drop to 350°F. That initial high heat sets the crust, sure, but it also shocks the filling. For a foolproof crack-free pie, try baking the whole thing at a steady 325°F from start to finish.
It takes a bit longer—about 55 to 65 minutes—but the gentle heat allows the eggs to coagulate slowly without that sudden internal pressure. Your crust might not be as golden, but you can brush it with an egg wash halfway through. Nobody will notice the difference when they’re eating a silky-smooth slice.
Tip #3: The Cool-Down Zone (Don’t Be Drastic)
Once your pie is out of the oven, do not set it on a cold metal rack or stone countertop. Put it on a folded kitchen towel or a wooden cutting board. This cushions the temperature drop and prevents that vicious thermal shock I mentioned earlier.
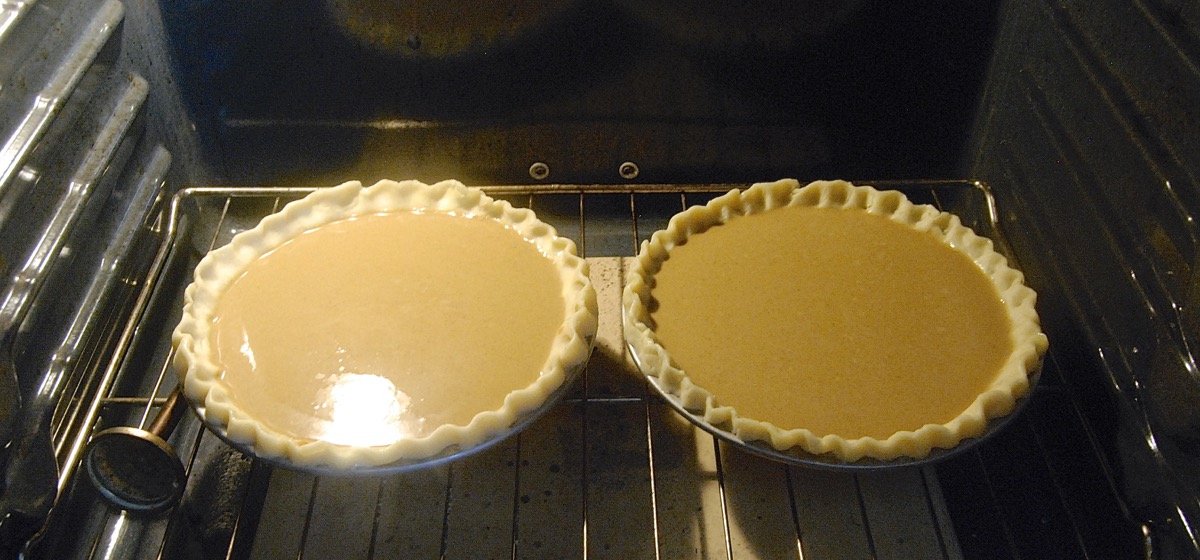 Pie Crust Keeps Cracking at Kevin Christensen blog
And for the love of all that is holy, keep it away from open windows or air conditioning vents. I once set a pie on the counter right under a ceiling fan, and it cracked in three places within five minutes. A slow, gradual cool-down is your best friend here.
Tip #4: The Water Bath (It’s Not Just for Cheesecake)
Cheesecake gets all the glory for the water bath, but pumpkin pie loves it too. Wrap your pie plate (if it’s metal or ceramic) in a double layer of heavy-duty aluminum foil, then set it in a larger roasting pan. Pour hot water halfway up the sides of the pie plate.
The steam from the water bath keeps the oven environment humid, which means the surface of your pie stays moist and flexible as it sets. No dry skin, no cracks. It’s a tiny extra step, but the results are wildly better. Your pie will be so smooth, you’ll feel like a pastry wizard.
Tip #5: The Emergency Repair (We’ve All Been There)
Okay, you did everything right, but that sneaky crack still appears. Don’t panic—you have options. Whip up a batch of stabilized whipped cream (with a little gelatin or cream cheese) and pipe it in a decorative swirl right over the split. Nobody will ever know.
Alternatively, you can brush a thin layer of warm maple syrup or honey over the crack. It seals the surface and adds a glossy sheen that looks intentional. And if all else fails, call it a “rustic farmhouse pie.” People love that stuff, and they’ll think you’re being artistically minimal.

